When embarking on the journey of wiring the electrical system in a Birkin, it is crucial to approach the task with a comprehensive understanding of both the components involved and the overall system layout. The Birkin, known for its lightweight construction and performance capabilities, requires an efficient and reliable electrical system to ensure optimal operation. This guide aims to break down the wiring process into clear, manageable steps.
The electrical system in a Birkin encompasses several essential elements, including the battery, alternator, wiring harnesses, lights, and instrumentation. Each of these components plays a vital role in the vehicle’s functionality. A well-executed wiring job not only enhances reliability but also improves the safety and performance of the vehicle. Understanding the purpose and connection of each component is fundamental to achieving a successful assembly.
Moreover, proper insulation, grounding, and circuit protection are significant factors that must be considered during the wiring process. This guide will provide detailed instructions, diagrams, and tips to assist enthusiasts and builders in creating a robust electrical system that meets the demands of the Birkin’s design. Whether you are a seasoned mechanic or a novice builder, mastering the wiring techniques will enhance your project and create a vehicle you can trust.
Selecting the Right Wiring Components for Your Birkin

Choosing the appropriate wiring components is crucial for the performance and safety of your Birkin. Start by identifying the right gauge wire for your application. Generally, 16 to 10-gauge wire is suitable for most automotive uses, as it offers a good balance between conductivity and flexibility.
Next, consider the insulation type. Look for wiring with high-quality insulation such as PVC or cross-linked polyethylene. These materials provide excellent heat resistance and protect against environmental factors, which is essential for a vehicle’s longevity.
Connectors are another vital component in your wiring system. Choose connectors rated for automotive use to ensure they can withstand vibrations and temperature changes. WeatherPack and Molex connectors are commonly used for their reliability and ease of installation.
Don’t overlook fuses, as they are critical for protecting your electrical system from overloads. Select fuses that match the amperage requirements of your components, and consider using a fuse box for organized and easy access.
Grounding is essential in any electrical installation. Ensure you use quality grounding straps and connect them to a clean, rust-free surface for optimal conductivity. A poor ground can lead to electrical failures and unpredictable behavior in your vehicle.
Additionally, invest in quality relays, which are necessary for controlling high-current devices like headlights and fuel pumps. Choose relays rated appropriately for the load they will manage, and make sure they are compatible with your overall wiring harness.
Lastly, plan the layout of your wiring systematically. Proper routing minimizes the risk of abrasion, heat exposure, and interference from moving parts. Consider using protective sheathing or conduit for added durability, particularly in areas prone to wear.
Step-by-Step Installation Process for Electrical Wiring

Installing the electrical wiring in your Birkin vehicle involves careful planning and execution to ensure safety and functionality. Follow these steps for a successful installation:
1. Gather Necessary Materials
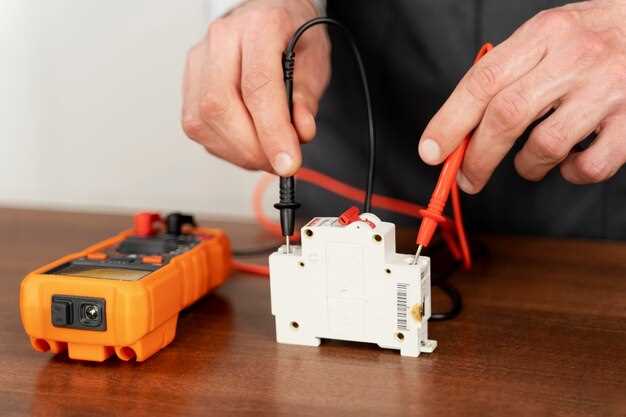
Before you start, gather all required materials. This includes wiring harnesses, connectors, fuses, relays, switches, and appropriate gauges of wire. Ensure you have tools such as wire strippers, crimpers, and a multimeter on hand.
2. Plan the Wiring Layout
Create a schematic of your electrical system. Identify where each component, such as lights, battery, and ignition switch, will be placed. This planning stage is crucial for avoiding confusion during installation.
3. Disconnect the Battery
For safety, disconnect the vehicle’s battery before beginning any electrical work. This prevents accidental shorts or shocks during installation.
4. Install the Wiring Harness
Start by laying out the main wiring harness in your vehicle. Secure it in place using zip ties or clips, ensuring it does not interfere with any moving parts. Follow your schematic to route the wires correctly.
5. Connect Components
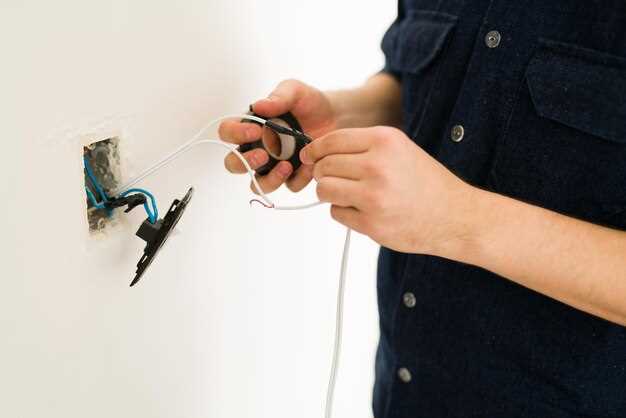
Begin connecting your components. Strip the ends of the wires and use crimp connectors or solder to make secure connections. Ensure that each connection is properly insulated with heat shrink or electrical tape to prevent short circuits.
6. Install Fuses and Relays
Incorporate fuses and relays into your wiring system according to the manufacturer’s specifications. Position them in an accessible location within the vehicle to allow for future maintenance.
7. Ground the System
Establish a solid ground connection for the electrical system. This is essential for reliable operation, particularly for sensitive components. Ensure that grounding points are clean and free from corrosion.
8. Test the Wiring
Before finalizing the installation, conduct a thorough test of the electrical system. Reconnect the battery and use a multimeter to check for voltage and continuity in the circuits. Address any issues before proceeding.
9. Secure and Protect Wiring
Once tested, secure all wiring neatly and protect it with conduit or loom, especially in areas exposed to heat or wear. This will enhance durability and safety.
10. Final Check and Power Up
Conduct a final inspection of all connections and mounted components. Ensure that everything is in its proper place. Once satisfied, reconnect the battery, power up the system, and carry out a full functionality test of all electrical components.
This systematic approach will help ensure a safe and effective installation of the electrical system in your Birkin vehicle.
Common Electrical Issues and Troubleshooting Techniques in Birkin Models
Birkin models, known for their classic charm and performance, may encounter various electrical issues during their lifespan. Understanding these problems and their solutions is critical for effective maintenance and optimal performance.
1. Battery Problems
A common issue is a weak or dead battery. Symptoms include difficulty starting the engine or dimming lights. To troubleshoot, check the battery connections for corrosion and ensure they are tightly fastened. Measure voltage using a multimeter; a healthy battery should show around 12.6 volts when fully charged. If the battery’s charge is low, consider recharging or replacing it.
2. Faulty Fuses
Blown fuses can cause specific electrical systems to fail. Symptoms typically involve inoperative components such as lights or gauges. Inspect the fuse box for any broken fuses. If a fuse is blown, replace it with one of the same amperage. If the new fuse blows quickly, consult the wiring diagram to determine potential short circuits.
3. Wiring Issues
Damaged or frayed wiring can lead to intermittent electrical faults. Look for signs of wear, particularly in high-friction areas and near moving components. Use a multimeter to test for continuity in suspect wires. If issues are found, replace the damaged sections and ensure proper insulation to avoid further problems.
4. Ground Connection Problems
Poor ground connections can result in erratic behavior of electrical systems. Symptoms may include flickering lights or unreliable power to accessories. To troubleshoot, locate the ground points on the frame, clean off any corrosion, and ensure a tight connection. Use a multimeter to check the resistance; ideally, it should be minimal.
5. Alternator Issues
If electrical accessories are not receiving adequate power or the battery is draining quickly, the alternator could be malfunctioning. Check the alternator output using a multimeter; it should produce approximately 13.8 to 14.4 volts with the engine running. If the output is insufficient, consider testing or replacing the alternator.
6. Ignition System Failures
Electrical problems in the ignition system can prevent the engine from starting. Symptoms may include no spark or engine misfires. Inspect the ignition coil, spark plugs, and associated wiring. Replace any faulty components and ensure all connections are secure to restore functionality.
By routinely checking these common electrical issues and applying appropriate troubleshooting techniques, Birkin owners can ensure their vehicles operate smoothly and reliably. Regular maintenance and prompt attention to electrical concerns will enhance the overall driving experience.


