

Assembling a Birkin kit can be an exhilarating yet challenging experience for both novice and seasoned artisans. The process requires precision, creativity, and a thorough understanding of the components involved. Proper preparation is crucial to ensure a smooth assembly and to achieve a professional-looking result. In this article, we will outline essential tips and set realistic expectations for your Birkin kit assembly journey.
First and foremost, planning your workspace is key. A clean, organized area will enable you to work efficiently and minimize the chances of losing small components. Make sure to gather all necessary tools before you begin, as this will save time and prevent frustration during the assembly process. Having a dedicated space for your project not only enhances focus but also fosters a sense of creativity.
It’s also important to familiarize yourself with the contents of the kit. Each Birkin kit comes with a unique set of materials and instructions, and understanding these components will help in visualizing the final product. Pay attention to details such as color choices, stitch patterns, and leather types. Anticipating potential challenges can also improve your overall experience. For instance, some materials may require special handling or tools, which can affect both your progress and the final quality of the assembled product.
Finally, keep in mind that assembly is a learning process. It’s normal to encounter difficulties, and embracing these moments can lead to significant growth in your crafting skills. Setting realistic goals and maintaining an open mind will allow you to enjoy the process and ultimately appreciate the beautiful product that emerges from your efforts. With the right preparation and a positive attitude, your Birkin kit assembly can be a fulfilling and enjoyable endeavor.
Tools and Materials Required for Assembling Your Birkin Kit
Assembling your Birkin Kit requires a selection of specific tools and materials to ensure a successful and efficient construction process. Below is a detailed list of what you will need.
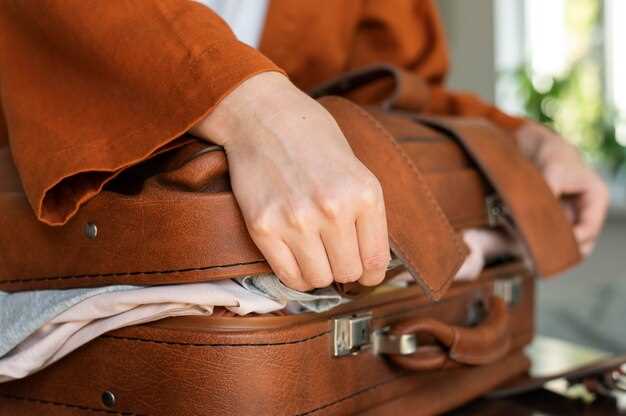
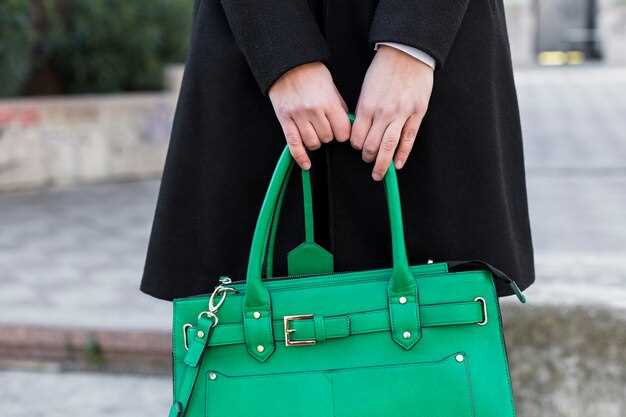
First and foremost, you will need high-quality leather, typically sourced from reputable suppliers. Genuine leather not only enhances the overall aesthetic of your Birkin but also contributes to its durability. Consider purchasing skins in colors and textures that suit your personal style.
Next, acquire appropriate hardware components, including buckles, clasps, and rivets. These elements are essential for the functionality and appearance of the bag. Ensure that the hardware matches in terms of color and finish for a cohesive look.
In terms of tools, a set of precision cutting tools is crucial. Invest in a sharp rotary cutter or a leather knife for clean, accurate cuts. A cutting mat will protect your work surface and help maintain the sharpness of your tools.
Sewing tools are equally important. A heavy-duty sewing machine equipped with a leather needle will facilitate the stitching process. Alternatively, if you prefer hand-sewing, you will need needles specifically designed for leather, waxed thread, and an awl to create precise holes.
A ruler and a set of calipers are handy for measuring and marking your leather pieces accurately. Additionally, a set of scissors for trimming threads and excess leather will help refine your work.
Lastly, do not overlook the importance of adhesive. A strong leather glue or contact cement is vital for bonding leather pieces in areas that require additional support before stitching.
Gathering these tools and materials beforehand will streamline the assembly process, allowing you to focus on the artistry of creating your Birkin Bag.
Common Mistakes to Avoid During the Assembly Process
When assembling your Birkin kit, avoiding common pitfalls can significantly enhance your experience and ensure a successful outcome. Here are key mistakes to watch out for:
1. Skipping the Instruction Manual: Many novice assemblers may feel confident enough to bypass the detailed instructions. However, each component is designed for specific placement and function. Always refer back to the manual to prevent errors.
2. Ignoring Material Compatibility: Ensure that the materials you are using are compatible with each other. Mixing different types of leather or hardware can lead to issues with durability and appearance. Verify the specifications before proceeding.
3. Over-tightening Screws: While securing components, be cautious not to over-tighten screws or fittings. This can strip threads or misalign parts, leading to structural weaknesses in the final assembly.
4. Rushing the Assembly: Taking your time is crucial. Rushing can cause mistakes such as misplacing pieces or damaging materials. Allocate sufficient time for each step and give yourself breaks if needed.
5. Neglecting to Test Fit Components: Before committing to permanent fixtures, always perform a test fit. This allows for adjustments to be made and ensures that parts align properly before final assembly.
6. Forgetting to Check for Defects: Inspect all parts for defects, such as scratches or uneven cuts, before assembly. Addressing these issues early can save time and enhance the overall quality of the final product.
7. Not Organizing Tools and Materials: A cluttered workspace can lead to misplaced parts and inefficient assembly. Keep your tools and materials organized, so you can easily access them throughout the process.
8. Disregarding Personal Safety: Working with tools and materials requires adherence to safety guidelines. Always wear appropriate protective gear and maintain a safe working environment to prevent accidents.
Avoiding these common mistakes will help you progress smoothly through the assembly process, resulting in a well-constructed and beautiful Birkin bag that meets your expectations.
Understanding the Time Commitment for Completing Your Birkin Kit
Completing your Birkin kit is an intricate process that requires a significant investment of time and patience. It is essential to set aside sufficient hours to ensure a successful assembly experience. Depending on your skill level and familiarity with leather crafting, the time commitment can vary widely. On average, expect to spend anywhere from 20 to 40 hours on the entire project.
Begin by assessing your current skills. Beginners may need more time to grasp the basics of stitching and handling materials. Familiarize yourself with the techniques outlined in the assembly manual, as this will streamline the process. A novice may find themselves dedicating up to 60 hours, while those with experience may complete the kit in 15 to 25 hours.
Preparation is key in managing your time effectively. Setting up a dedicated workspace free from distractions will enhance your focus and efficiency. Gather all necessary tools and materials beforehand to minimize interruptions during the assembly. Plan your work sessions to avoid fatigue; breaking the project into smaller tasks can be beneficial.
Keep in mind that unexpected challenges may arise, such as difficulties with leather handling or stitching errors. Allocating extra time for these occurrences is advisable. If you are aiming for a high-quality final product, patience and precision should take precedence over speed.
Lastly, enjoy the process. Taking the time to engage with each step of the kit assembly will not only enhance your skillset but also transform it into a rewarding creative experience. Embrace the learning curve, and remember that the investment in time will yield a beautifully crafted Birkin bag that reflects your dedication and craftsmanship.


